Tiny laundry room ideas usually fail for one reason: people try to make a 30-inch-wide closet look like a Pinterest board with a window seat. I learned that the hard way when I crammed three wicker baskets, a wood ladder, and a giant “Wash & Fold” sign into a 32-inch hallway closet and somehow ended up with less usable space than when I started.
The fix isn’t more stuff. It’s better stuff in the right order, with vertical space treated like prime real estate and a strict rule about what gets to sit out.
Here’s how I’d plan, build, and style a small laundry zone — whether it’s a closet behind bifold doors, an alcove in a bathroom, or a stretch of wall in a mudroom.
Who This Setup Is For
This works if your laundry lives in:
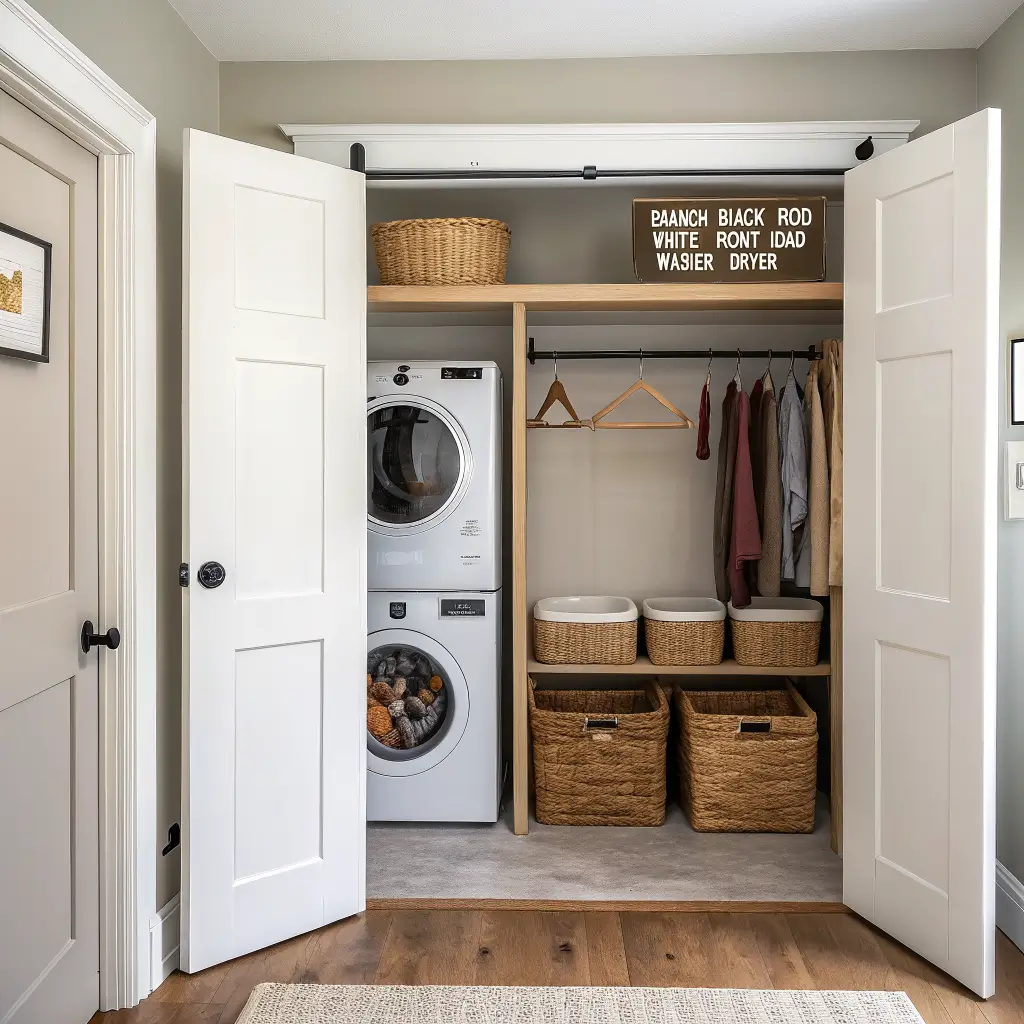
– A 3–5 ft wide closet with bifold or sliding doors
– A 24–60 in deep niche in a hallway, bathroom, or kitchen
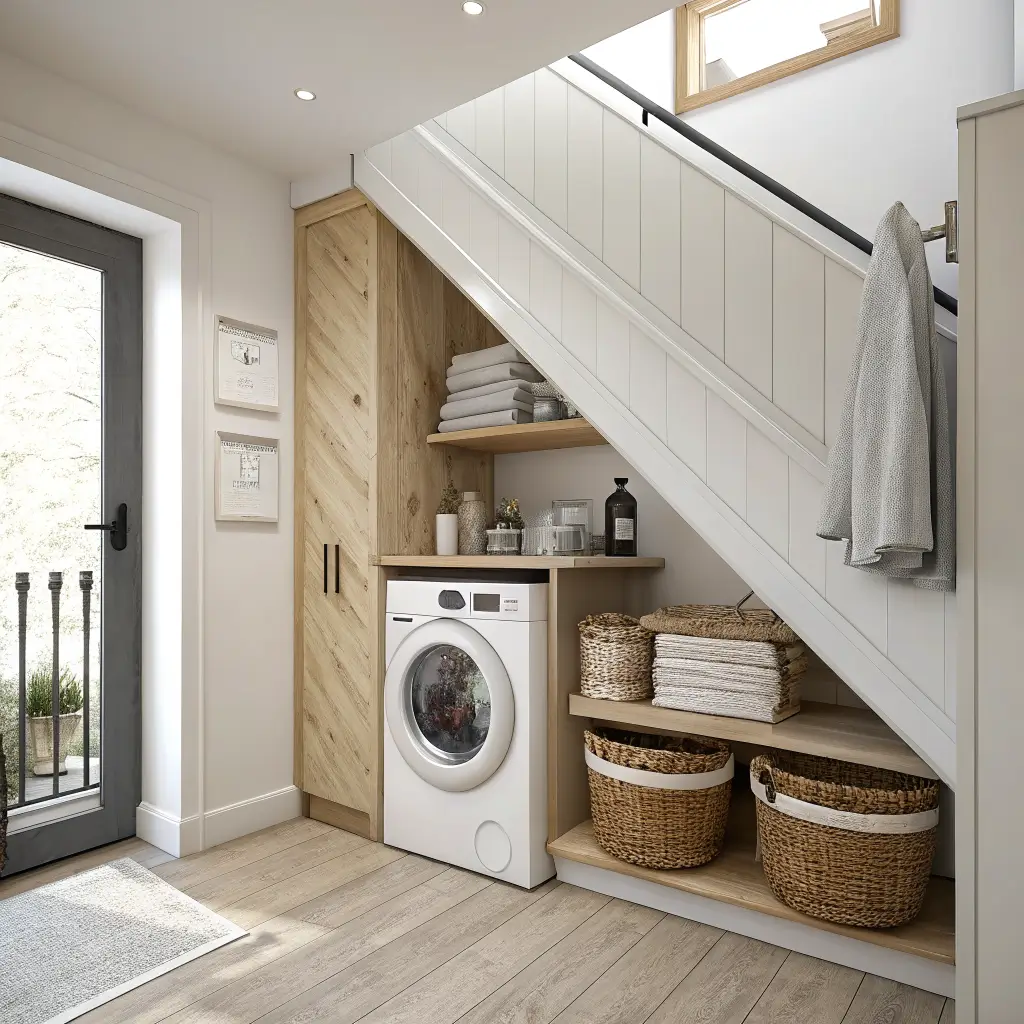
– An under-stair nook or back-hall corridor
– A shared multi-use room (laundry + pantry, laundry + mudroom)
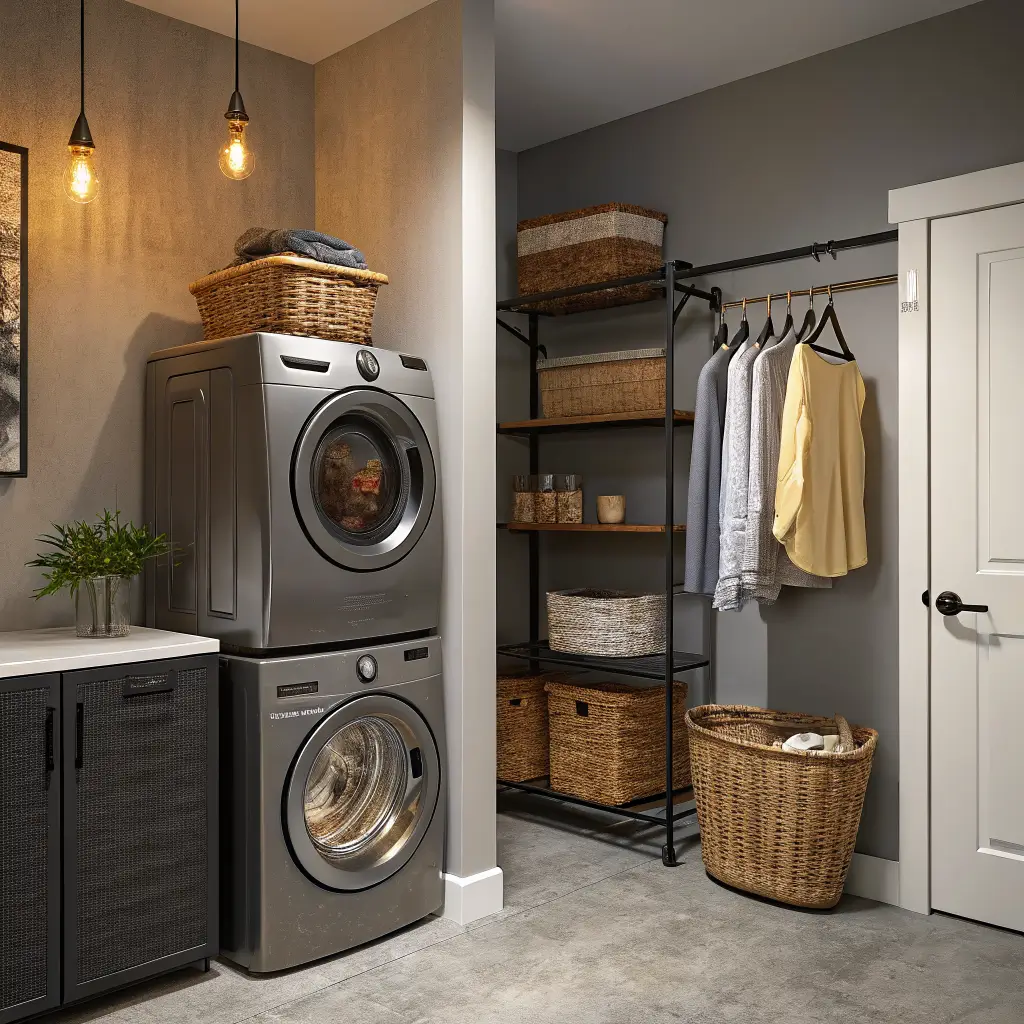
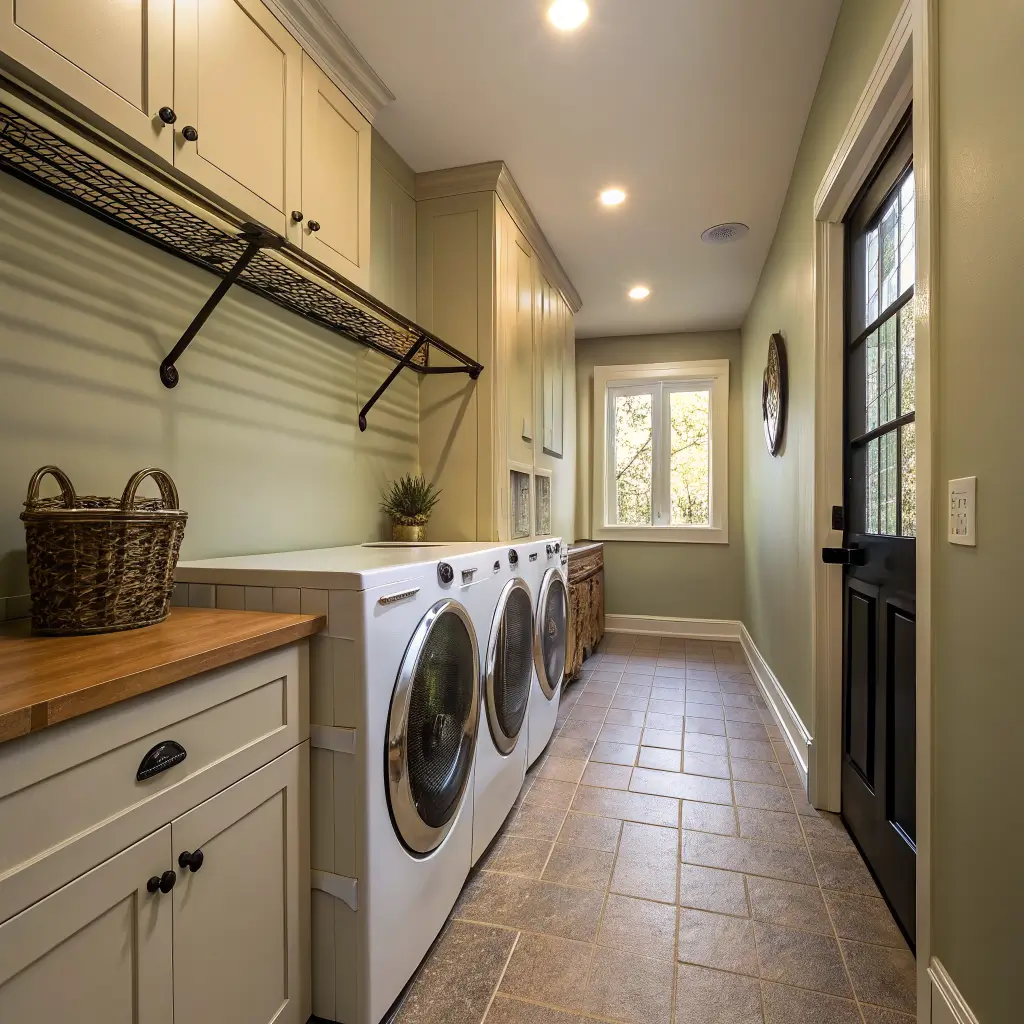
Stacked units typically need 28–34 in of width. Side-by-side front-loaders need 60–66 in. Measure twice — appliance depth with the door closed is different from depth with hoses bumping the wall behind.
If you rent, almost everything below has a non-permanent version. I’ll flag it.
Time, Budget, and Skill — The Honest Numbers
Weekend refresh (4–6 hours): paint, peel-and-stick floor or backsplash, matching baskets, hooks, labels. Beginner level. Roughly $150–$400 all in.
Two-day makeover: wall cabinets, a counter over front-loaders, a hanging rod, open shelves, lighting. Intermediate DIY. $400–$1,200.
Bigger build-out: custom cabinetry, tile backsplash, plumbing or electrical moves, built-in drying rack. Plan on a weekend plus a plumber or electrician. $1,200–$3,000+.
Real price points I’ve paid or priced recently:
– Stock wall cabinet at a big-box store: $150–$300 each
– Butcher-block counter, 4–6 ft: $100–$300
– Slim rolling cart (about 10–12 in wide): $40–$90
– Peel-and-stick wallpaper or tile: $35–$70 per roll
– Utility sink with basic faucet: $150–$350
– LED puck or strip lights: $25–$60
The Style Decision (Pick One and Stop)
Tiny spaces fall apart when you try to mix three aesthetics. Choose one direction and stay there:
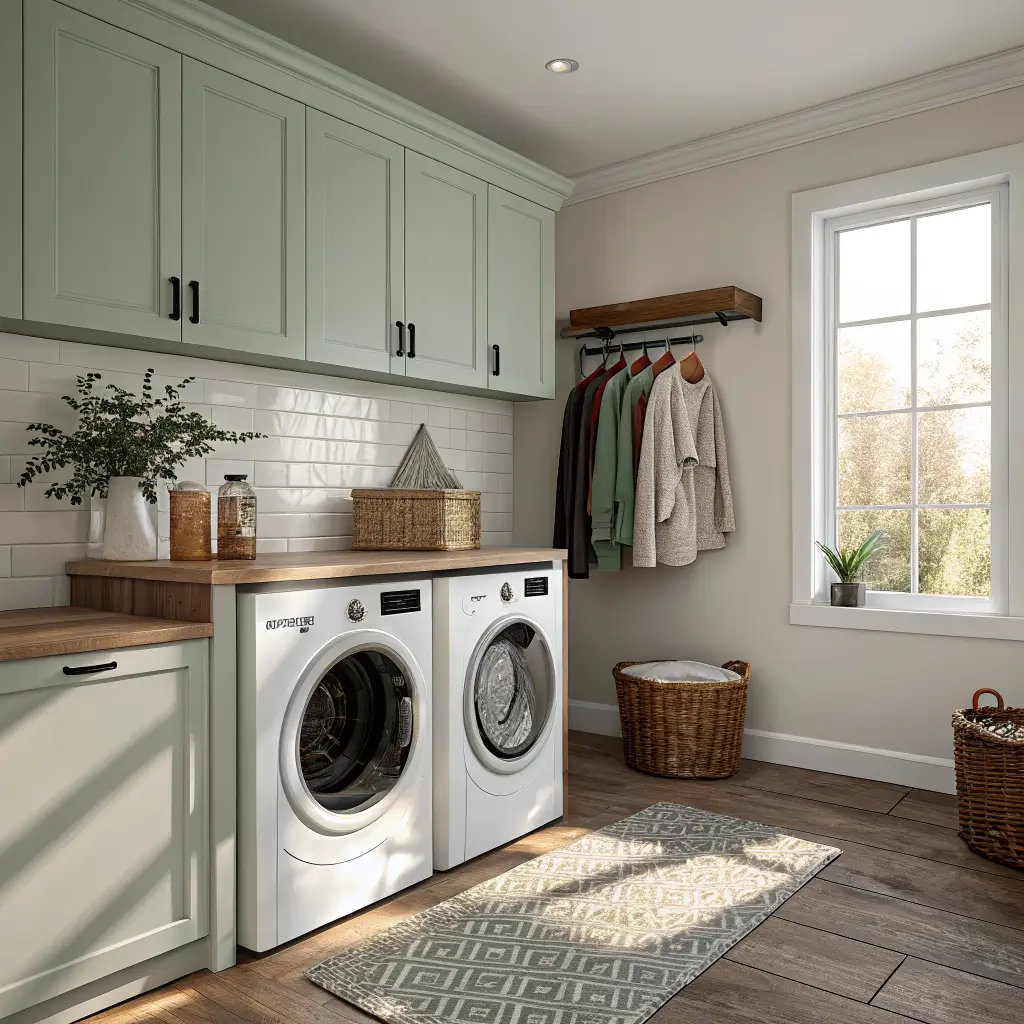
– Modern farmhouse: shaker cabinets, matte black hardware, warm wood shelves, one vintage-style sign
– Scandi/minimal: white or pale oak cabinets, slim black brackets, clean sans-serif labels
– Modern coastal: soft sage or dusty blue cabinets, beadboard or tongue-and-groove, seagrass baskets
– Urban industrial: black rods, wire shelving, concrete-look floors, metal baskets — my pick for apartment closets because everything’s available at hardware stores
The color formula I keep coming back to: warm white or greige walls, one accent color on cabinets or a single feature wall, one metal finish for hardware. That’s it. If your cabinets are inky navy, your walls and backsplash need to be light or the room will read like a cave.
The Pieces That Actually Do the Work
The hero items
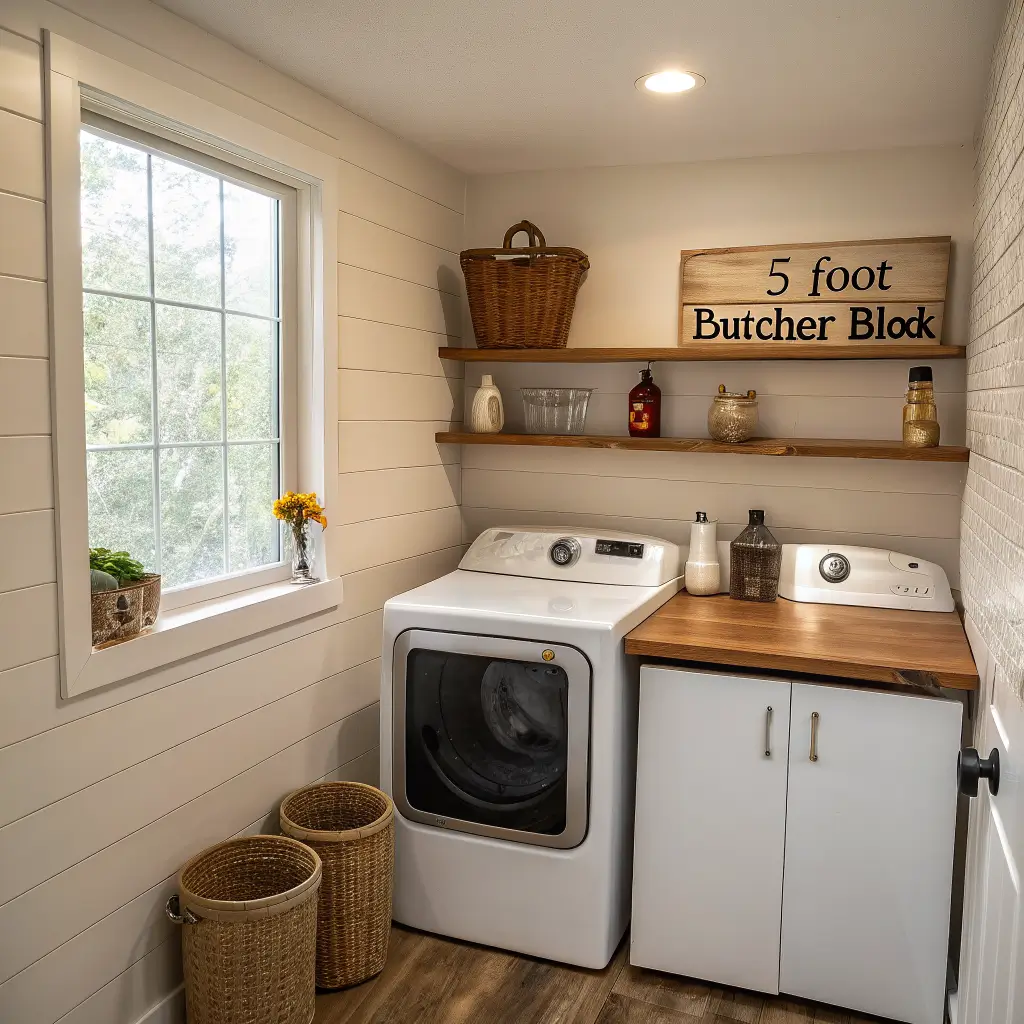
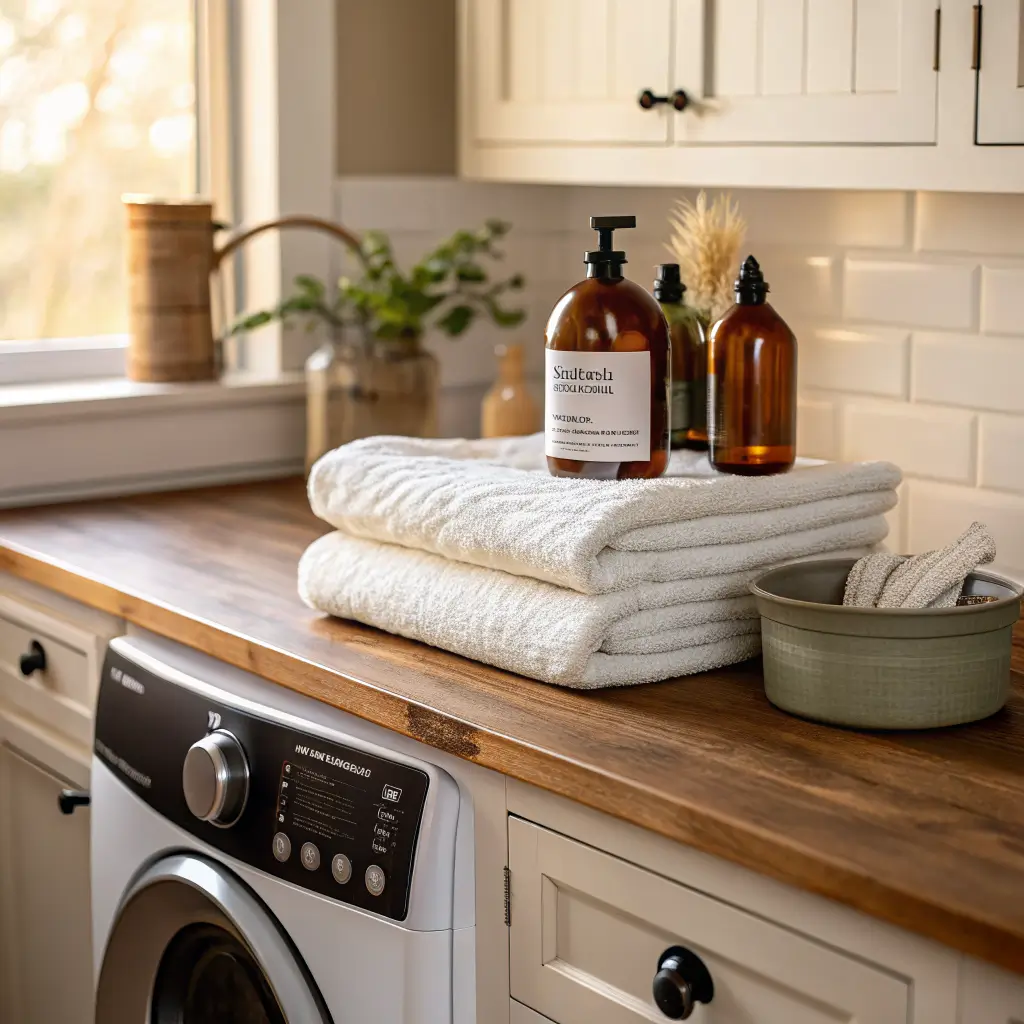
A countertop over front-load machines. This is the single best upgrade I’ve made in a laundry closet. A 4–6 ft slab of butcher block or laminate (24–26 in deep) on cleats screwed into the side walls — no legs, no fuss. Folding happens there. Staging happens there. The cat sleeps there.
Wall cabinets or one tall vertical cabinet. Mount them at 54–60 in from the floor so you can reach the bottom shelf without a stool but still slide a laundry basket onto the counter below.
A hanging rod or fold-down drying rack. Even a 24–30 in rod between two cabinets earns its keep. For drip-dry, I use a wall-mounted accordion rack that folds flat at about 4 inches deep.
A slim rolling cart between the machines. The 10-inch-wide kind. Detergent, dryer sheets, stain stick, lint roller. Pull it out, use it, push it back.
The smaller stuff that keeps it from looking like a junk drawer
– Matching baskets — pick a material (seagrass, cotton rope, white plastic) and stop there. I mix at most two.
– Refillable dispensers for detergent and softener. Looks better, smells better, refills are cheaper.
– Labels on everything so anyone else in the house puts things back correctly
– A washable 2×5 or 2×7 runner to warm up cold tile or vinyl
– One plant — a pothos on top of the cabinet works in low light. One. Not three.
– Under-cabinet LED strip or puck lights if your overhead is a single sad bulb (it usually is)
How I’d Put It Together, In Order
The sequence matters because if you load the shelves before you figure out the rod placement, you’re moving things three times.
1. Clear and measure. Pull machines out if you can. Vacuum the lint cave behind them. Mark stud locations on the wall in pencil. Note where outlets and the dryer vent are — they decide a lot.
2. Paint and floor first. Walls in satin or semi-gloss (moisture-tolerant, wipes clean). If you’re doing peel-and-stick floor or backsplash, now’s the time. I’d rather work behind machines that are already pulled out than try to cut tile around appliance feet later.
3. Install structural storage. Wall cabinets into studs, or use heavy-duty toggles if you have to. Then the hanging rod. Then the counter on cleats.
4. Add the rolling cart and any fold-down racks. Test the cart’s clearance with the machines closed and open.
5. Load essentials at eye and waist height. Daily detergent in a labeled pump dispenser. Stain remover on a hook on the cabinet door. Upper shelves get bulk refills and the lint brush you use twice a year.
6. Style last, lightly. One small art print or sign. A plant. A pretty canister of clothespins. That’s the whole styling list.
Mistakes I’ve Made So You Don’t Have To
Overloading the open shelves. My first laundry closet had a wood plank with twelve bottles lined up on it — detergent, bleach, vinegar, oxi-something, three sprays. It looked like a hardware aisle. Now everything except two refillable jars lives behind a basket or cabinet door.
Ignoring the wall above the machines. A 32-inch-wide closet has about 50 inches of usable wall height above a front-loader. That’s two shelves and a rod, or a wall cabinet plus a rod. Don’t leave it empty.
No drying solution. If you don’t build in a place for hang-dry stuff, it ends up on the shower curtain rod. Install at least a short rod or a fold-out rack.
Going too dark in a windowless room. I painted a 4×4 ft laundry closet in a deep green I loved on the swatch. Inside the closet with the door half-shut, it felt like a submarine. Repainted in a warm off-white, kept the dark accent on the cabinet only. Much better.
Renter mistakes. Don’t drill into tile. Don’t pull up vinyl. Tension rods, command hooks, peel-and-stick tile, over-door racks, and freestanding carts all come out clean when you leave.
Renter-Friendly Version
If you can’t drill or paint, here’s the swap list:
– Peel-and-stick wallpaper on the back wall behind the machines
– Tension rod across the closet for hangers
– Over-the-door ironing board holder and hook rack
– Freestanding slim shelving unit instead of wall cabinets
– Rolling cart between machines
– Stick-on puck lights (battery or USB-rechargeable)
Total cost for a full renter refresh: about $200–$350 if you shop carefully.

Keeping It From Sliding Back Into Chaos
The maintenance trick that’s actually worked for me: one-in, one-out for anything that sits on a surface. New candle? Old candle goes. New cute jar? Something gets demoted to the cabinet. Tiny rooms punish you for accumulating.
A few other rules I follow:
– One metal finish across hardware, rod, and light fixture. Two max.
– Bulk supplies (the giant detergent box, the 24-pack of dryer sheets) live somewhere else and get decanted in.
– If something doesn’t get used weekly, it doesn’t get shelf space at eye level.
Easy Seasonal Swaps
The bones don’t change. The accents do:
– Swap the art print or small sign
– Change the runner (terracotta-ish in fall, faded blue in summer)
– Switch hand towels and the candle scent
– Move the plant if light shifts seasonally
That’s the whole seasonal routine. Ten minutes, no spending required if you rotate what you already have.
Phased Budget Plan If You Can’t Do It All at Once
This is how I’d spread it out:
– Phase 1 ($75–$150): paint, baskets, labels, hooks, one good light
– Phase 2 ($200–$500): open shelving, rod, peel-and-stick floor or backsplash, rolling cart
– Phase 3 ($500–$1,500): wall cabinets, counter over machines, upgraded lighting, hardware swap
Each phase stands on its own. You don’t need Phase 3 for the room to look intentional — Phase 1 alone, done with restraint, beats a half-finished overhaul every time.
The closet I’m typing this near is 34 inches wide. It holds a stacked washer-dryer, a slim cart, two shelves, a 28-inch rod, six matching baskets, a pothos, and one small framed print my kid drew of a sock. It’s enough.
Conclusion
The tiny laundry room ideas that worked for me came from an alcove in the hallway with a stacked washer and dryer, a shelf above for detergent, and a basket for dirty clothes. I had painted the walls a pale green that made the room feel like a garden, and I kept a small plant on the shelf that thrived in the humidity. The room was not a laundry room. It was a corner of the house where clothes got clean. And that was enough.