Very Small Laundry Room Ideas: How to Make a Closet-Sized Space Actually Work
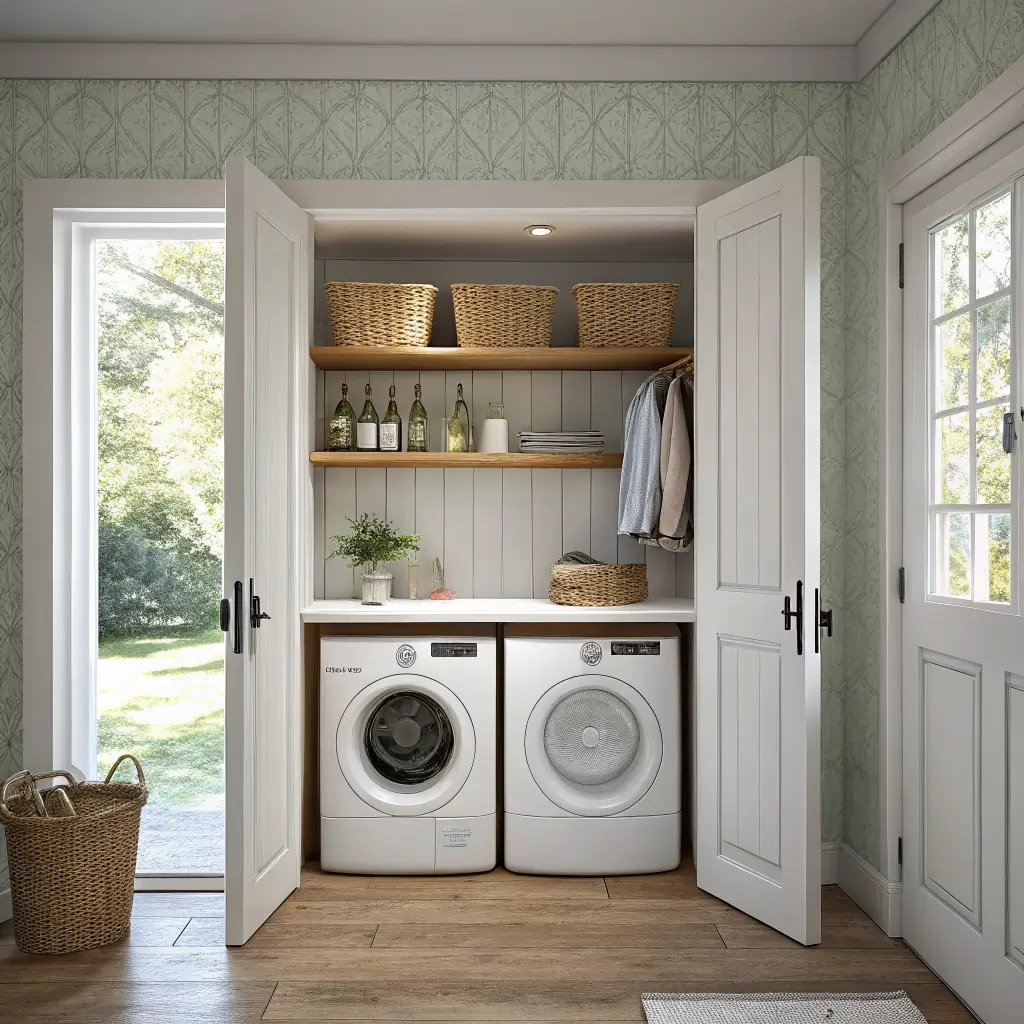
If your very small laundry room is a closet behind bifold doors, a hallway niche, or a stub of space jammed between the water heater and a wall, you already know the problem: there’s nowhere to fold, the detergent bottles look like a yard sale, and every basket you’ve tried either blocks the door or tips over when you yank a sock off the top.
I’ve worked with a 38-inch-wide laundry closet in my last apartment and a slightly more generous 5-foot version in the house I’m in now. Both were ugly. Both ended up functional and decent-looking without a renovation. Here’s exactly what worked, what I wasted money on, and what I’d do first if I had to start over tomorrow.
The Look I’d Aim For (and Who It’s For)
A tight laundry space cannot handle a busy style. Anything maximalist reads as clutter the second you put a bottle of OxiClean on the shelf. The styles that actually work in 8–20 square feet:
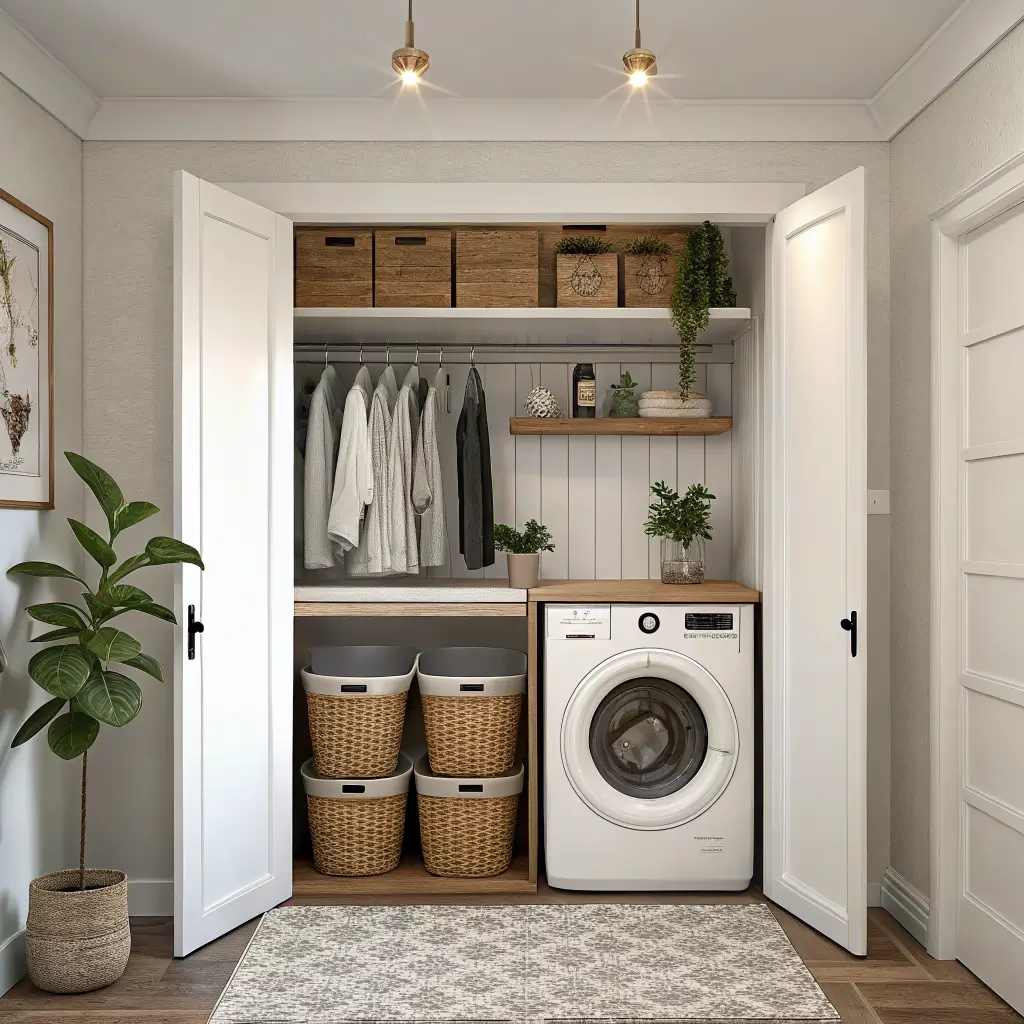
– Scandi-leaning: warm light wood, soft white walls, woven baskets, black hardware.
– Modern minimalist: white cabinets, hidden storage, one quiet accent color.
– Modern farmhouse, restrained version: beadboard on the back wall, brushed brass pulls, no signs that say “Wash, Dry, Fold” — please.
– Transitional: shaker fronts, a soft greige, small-scale patterned floor tile.
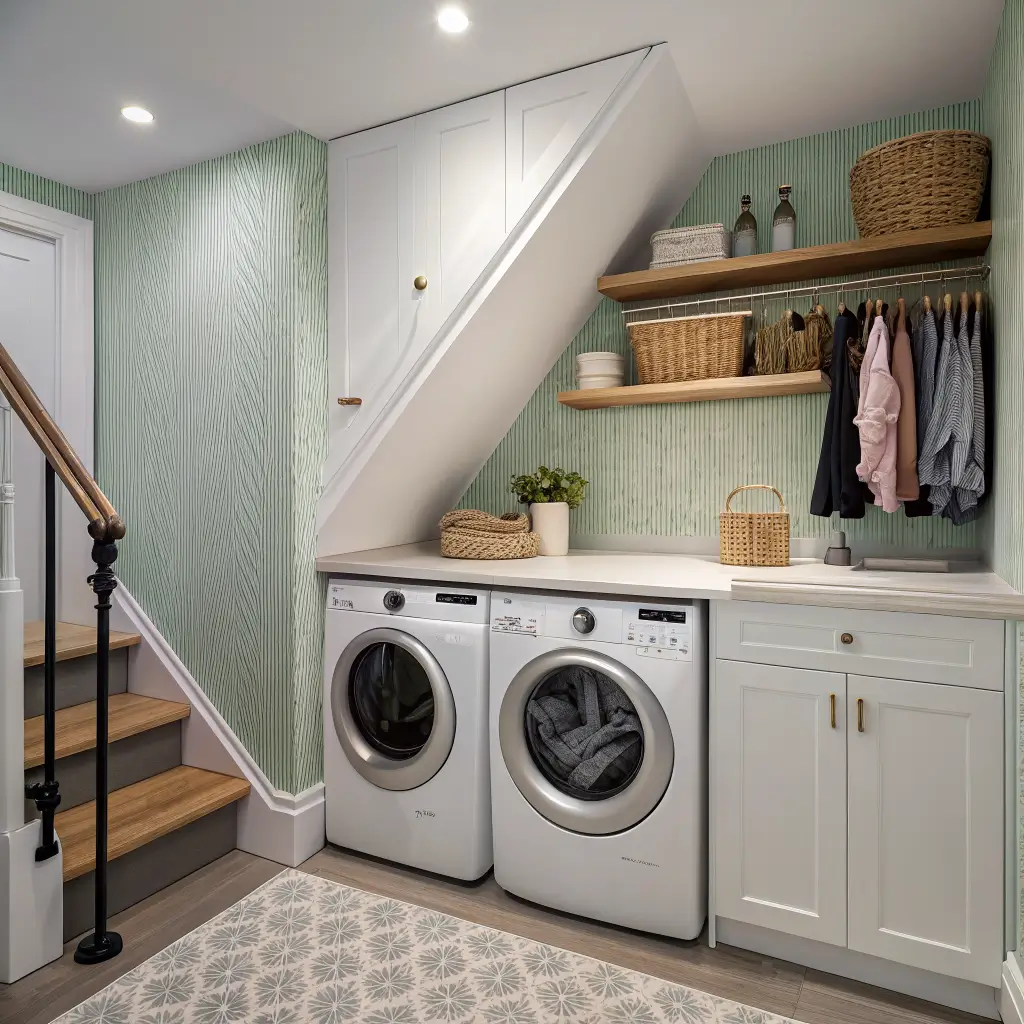
This works for apartment closets, condo hallway laundry, under-stair nooks, and the awkward corner of a garage or mudroom. If you rent, almost everything below is reversible.
Ideal footprint: 3–5 feet wide, 2–4 feet deep, with a stacked or side-by-side 24″–27″ washer-dryer.
Budget: Where to Spend, Where to Save
Three realistic tiers based on what I’ve actually paid:
$100–$300 — Cosmetic refresh, one weekend
– Peel-and-stick wallpaper for the back wall only: $30–$80 a roll
– One wall-mounted wood shelf: $20–$60
– Three to five matching woven baskets: $8–$25 each
– Stick-on LED puck or strip lights: $20–$50
$400–$1,000 — Structural upgrade, one to two days
– A 30″–36″ stock wall cabinet from Home Depot: $120–$300
– Butcher block or laminate counter over the machines: $120–$300
– Wall-mounted hanging rail or Elfa rod: $30–$100
– Slim rolling cart for between appliances: $30–$80
$1,000–$3,000+ — Full compact overhaul
– Custom built-ins or an enclosure cabinet around stacked units: $800–$2,000+
– Small tile floor or backsplash: $3–$10/sq ft plus install
– New 24″–27″ stackable washer-dryer: $1,000–$2,500
Where I’d spend: the counter and the cabinet above the machines. Those two pieces change how the room functions every single day.
Where I’d save: baskets (Target’s Brightroom line and IKEA’s KNIPSA work fine), labels (a $15 label maker), and art (free downloadable prints look identical to $40 ones once they’re framed).
The Pieces That Actually Earn Their Space
In a closet-sized room, every item has to do two things or it’s out. What I keep:
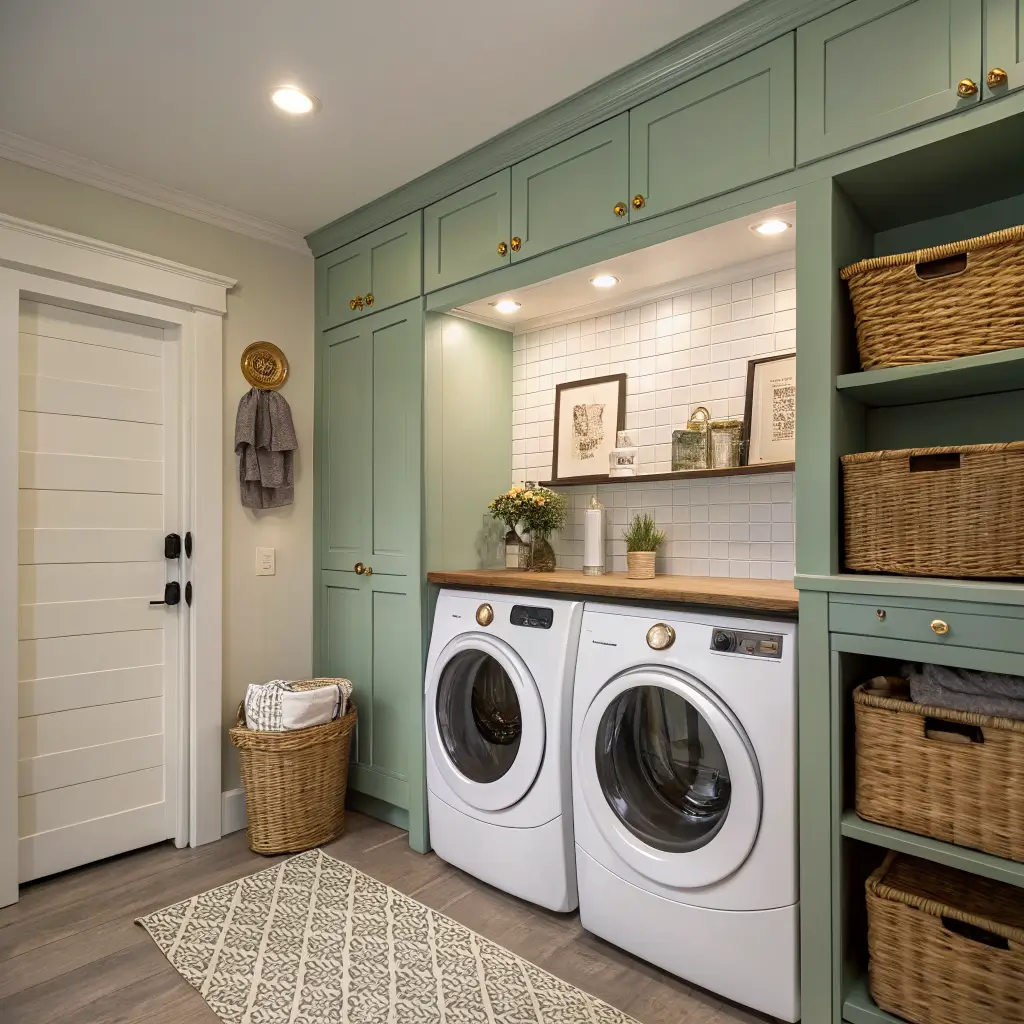
– A counter spanning both machines. Mine is a 60″ x 25″ butcher block from Lowes, sealed with mineral oil. It’s the single biggest upgrade I’ve made — folding directly onto warm laundry instead of carrying it to a bed two rooms away.
– One upper cabinet or shelf, 12″ deep, mounted 18–24″ above the machine tops. Less than 18″ and you can’t open the detergent drawer on a front-loader. I learned that the hard way and had to re-drill.
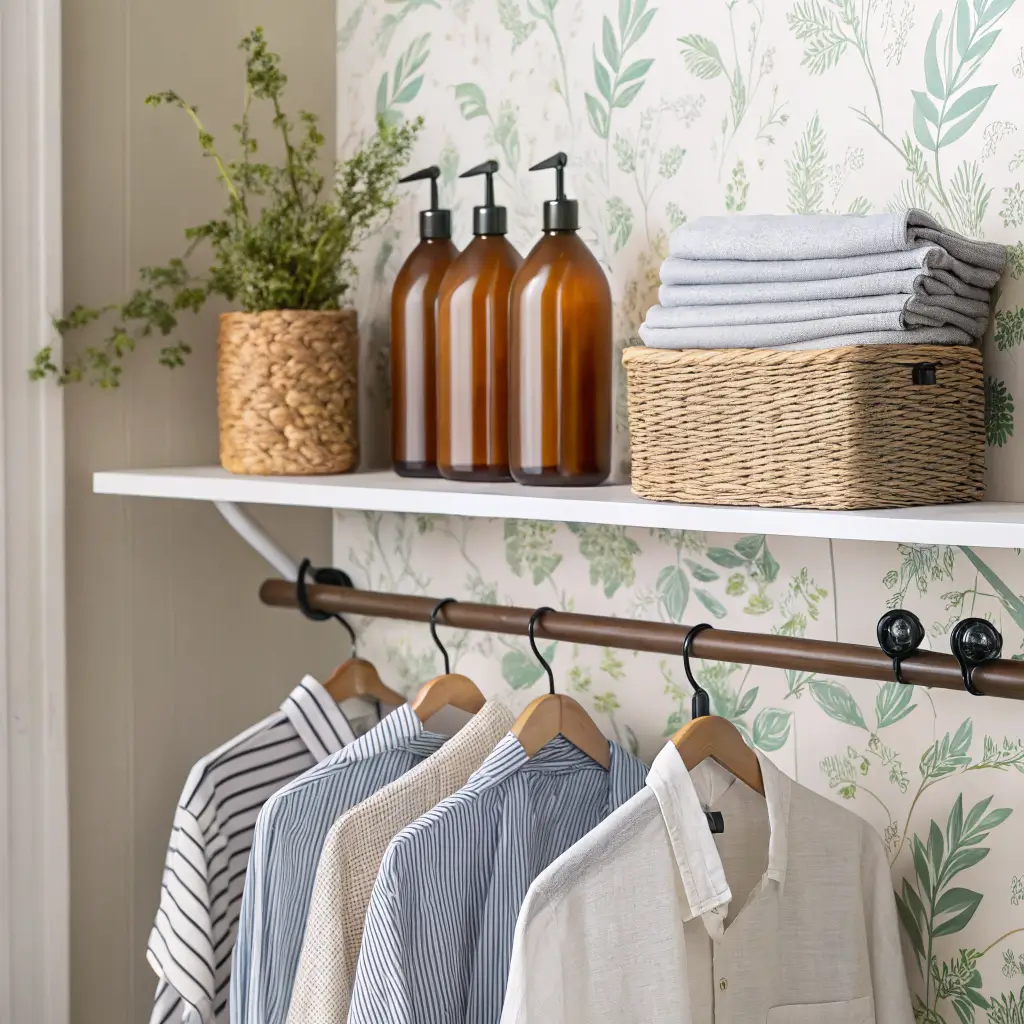
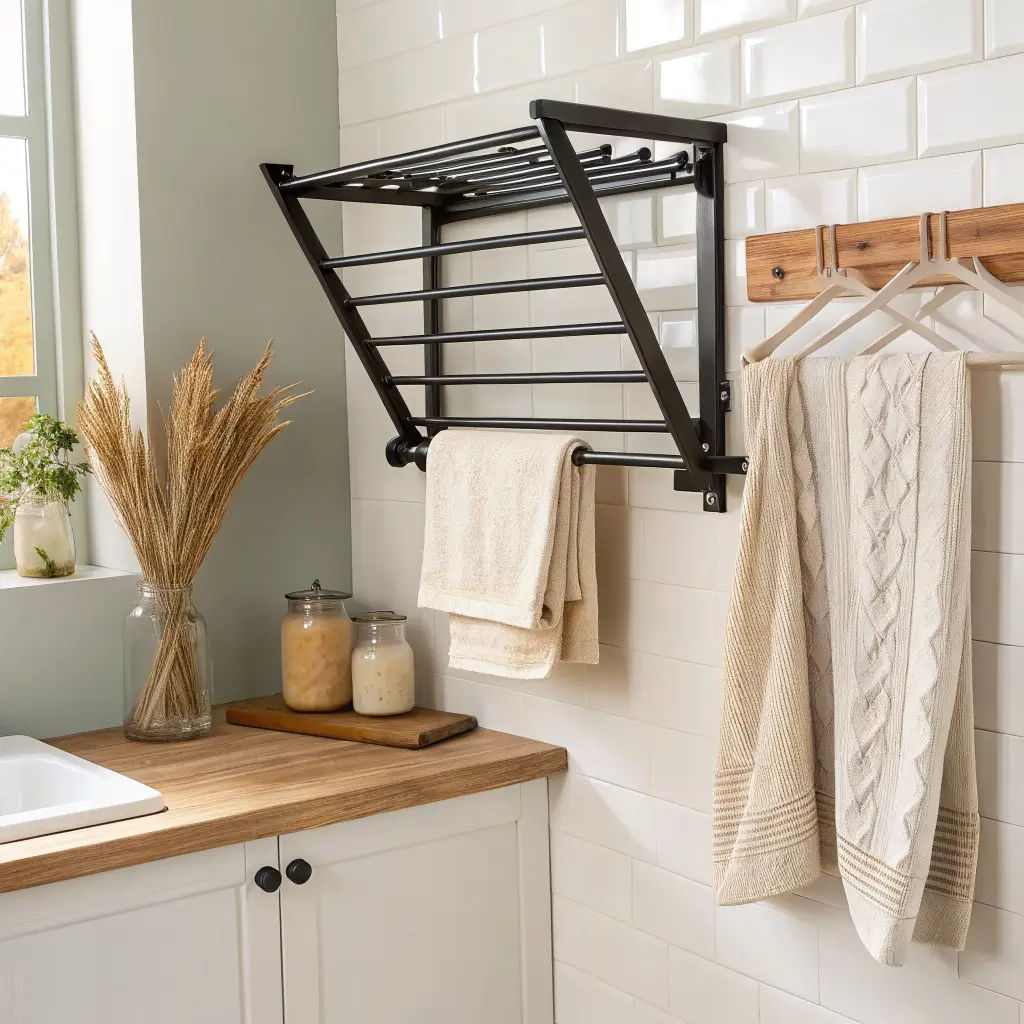
– A hanging rod under the shelf, about 40–50″ above the counter. Hang shirts straight out of the dryer; skip ironing entirely.
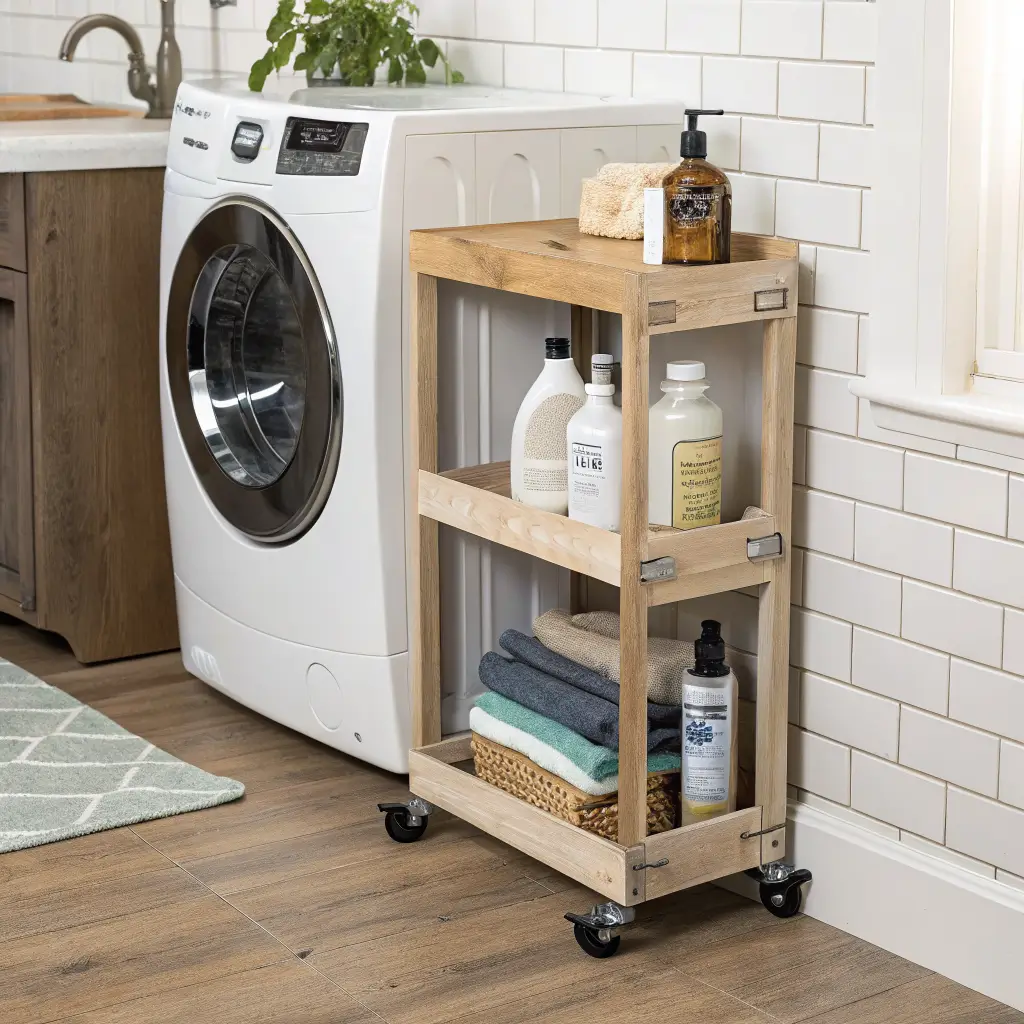
– A 6″–10″ slim rolling cart wedged between the washer and the wall. Mine holds detergent, dryer balls, a lint brush, and stain spray. Pull it out, grab what you need, push it back.
– A wall-mounted drying rack that folds flat. The freestanding ones are a menace in a tight space.
Skip the freestanding hamper if you’re under 4 feet wide. A tall narrow basket that lives behind the door, or a hamper that slides under the counter, is the move.
Color, Pattern, and the One-Wall Rule
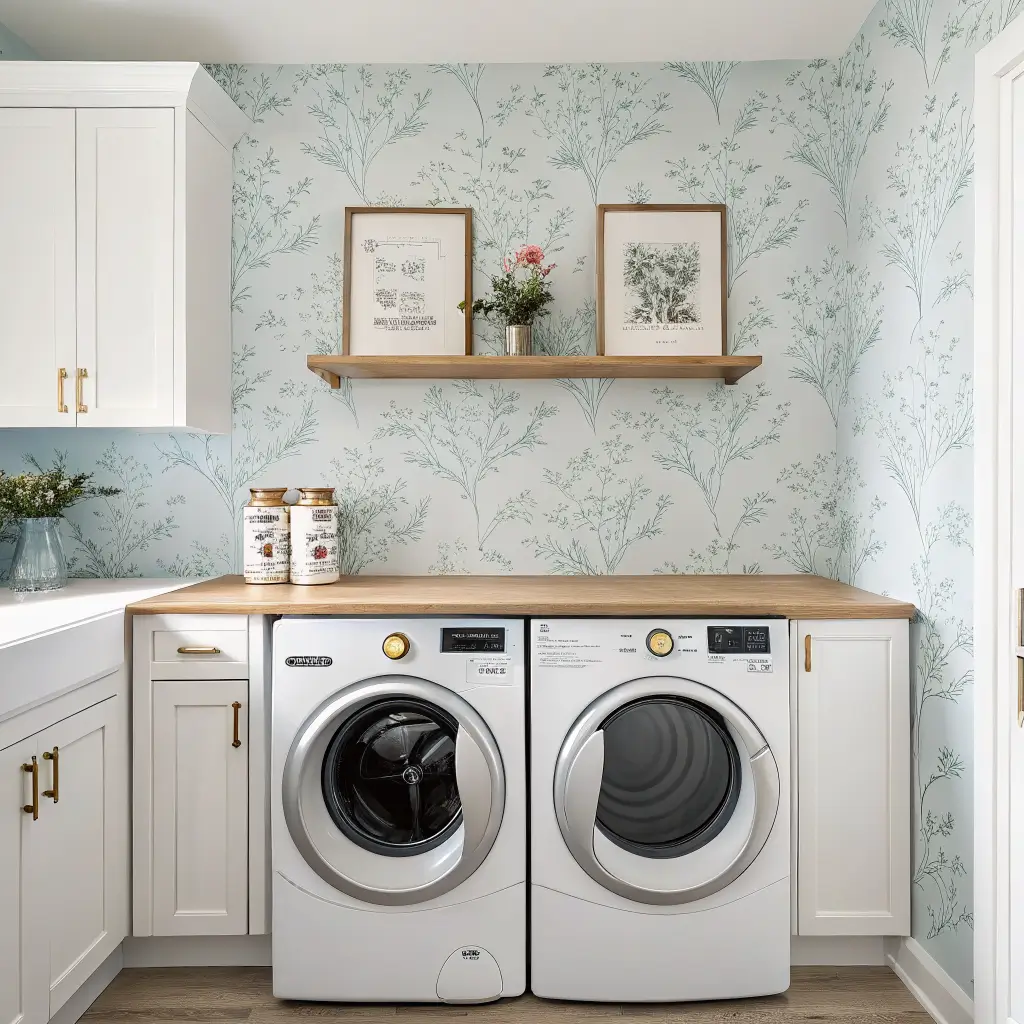
Walls and ceiling: light, reflective, and the same color. Painting the ceiling white or near-white in a tiny windowless room makes a noticeable difference. I use Benjamin Moore Chantilly Lace or Sherwin-Williams Pure White depending on what other whites are in the house.
Then pick one wall to do something on. Not three. One.
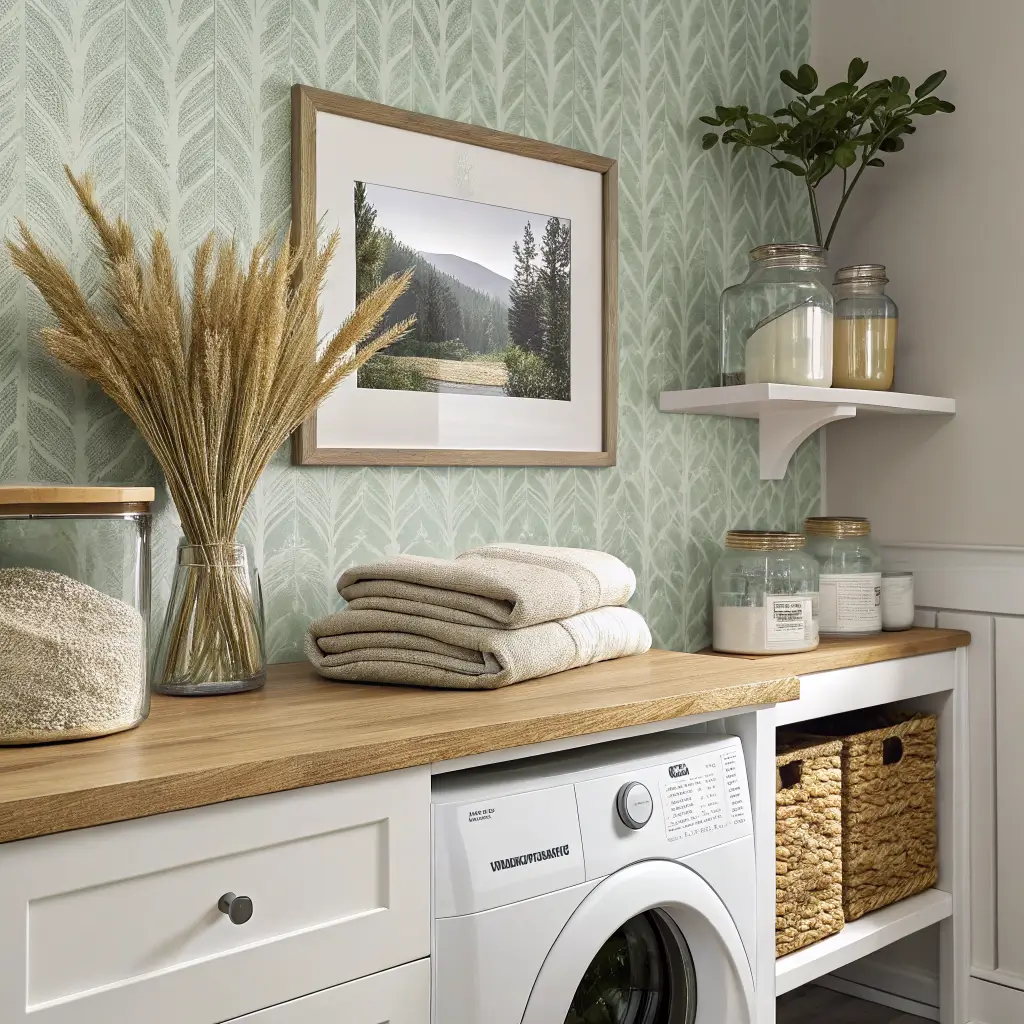
That’s where peel-and-stick wallpaper, beadboard, or a painted accent goes — almost always the back wall behind the machines, because it’s framed by the appliances and reads as a deliberate moment instead of pattern soup.
For an accent color, I lean toward muted: pale sage, dusty blue, slate, eucalyptus green. Repeat it in two or three spots — the runner, a label color, a piece of art — and stop. Resist the fourth.
Hardware in one finish. Matte black or brushed brass throughout. Mixed metals in a tiny room look like mistakes, not eclecticism.
The Detail That Made the Biggest Difference
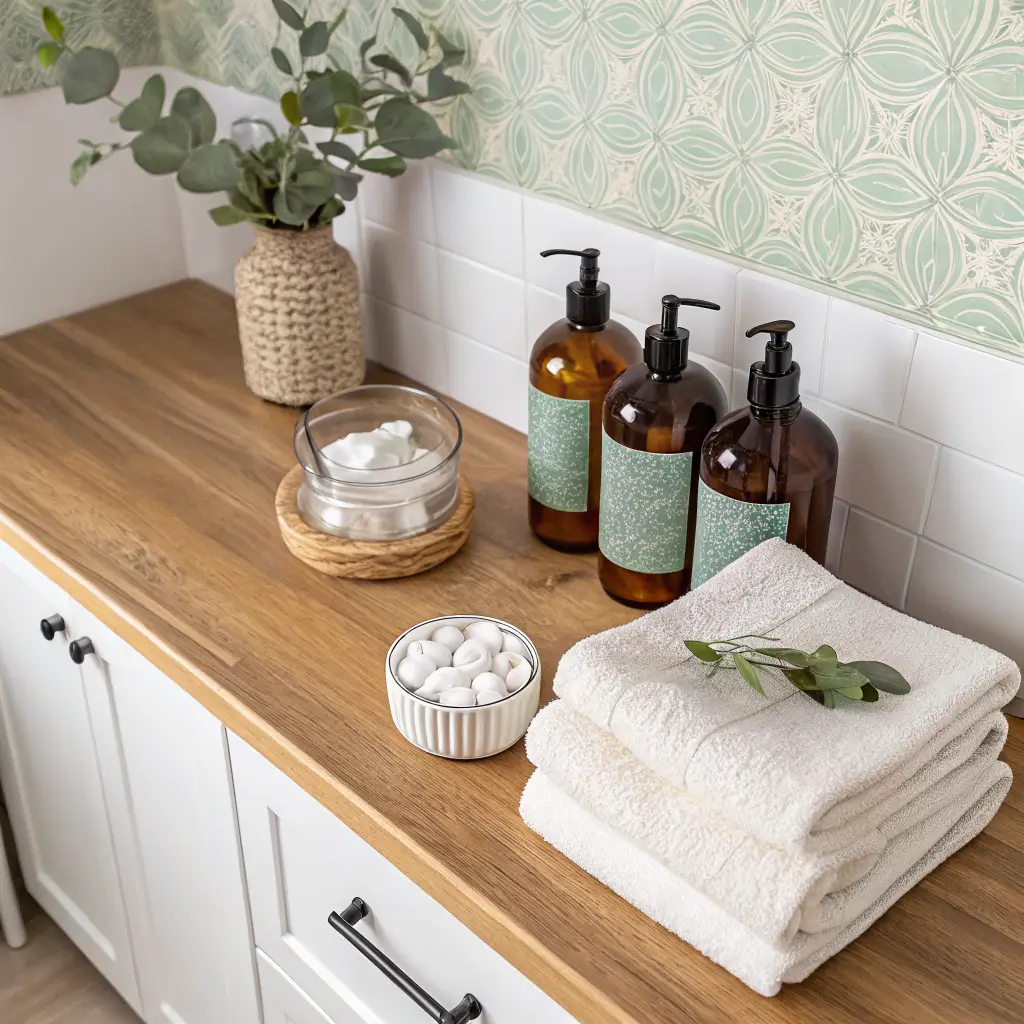
Decanting. I held out on this for a year because it felt fussy, and I was wrong.
Detergent, fabric softener, OxiClean, and wool dryer balls all live in matching amber glass pump bottles and clear jars now. Cost me maybe $35 total from Amazon. The shelf went from looking like the cleaning aisle at CVS to looking like a shelf. Same products, same volume, completely different visual weight.
If you do nothing else from this article, do this.
How to Actually Put It Together
Order matters. I’ve done this in the wrong order and had to undo work, so:
1. Empty everything and measure. Width, depth, height, door swing, vent location, plumbing hookups. Write it down. Bring it to the store.
2. Purge. That bottle of stain remover from 2019 is not coming back into rotation.
3. Paint or wallpaper first, before anything goes on the walls. Including the back wall behind the machines if you can pull them out — that strip of bare drywall will haunt you otherwise.
4. Mount the upper cabinet or shelf into studs. Use a stud finder, not hope. A loaded shelf full of detergent is heavy.
5. Install the counter with at least 1″ of clearance around each appliance for ventilation and vibration.
6. Add the rod, the rolling cart, the drying rack.
7. Decant, label, load the baskets.
8. Decor last: one to three small prints on the back wall, a low-profile runner that won’t catch on the door, a single plant or object on the counter.
Leave at least half the counter empty. Always. That’s the folding zone.
Mistakes I’ve Made (or Watched Other People Make)
– Open shelves crammed with a dozen small items. Fewer, larger bins. The bin is the unit, not the bottle.
– Wall-to-wall pattern. Wallpaper on every wall in a 4-foot closet looks like a fever dream. One wall.
– A deep hamper that blocks the door. Measure the door swing before you buy.
– Forgetting vertical space. The 18 inches between the top of your cabinet and the ceiling is real estate. Put a second shelf up there for the iron and bulk refills.
– Wire shelving from the previous owner. Tiny things fall through. Towels get those weird ridge marks. Replace it with a solid wood or melamine shelf for $40 and the room jumps a tier.
– One ceiling bulb doing all the work. Stick-on LED strips under the cabinet, aimed at the counter. Battery-powered if you don’t want to deal with wiring. Total game — sorry, total upgrade for $25.
Seasonal Tweaks Without Redoing Anything
The skeleton stays put. What I rotate:
– The runner. A flatweave 2×6 in summer, something heavier and warmer in fall.
– One framed print above the shelf. Botanicals in spring, a moody landscape in winter.
– A small jar of stems on the counter — eucalyptus most of the year, dried wheat in fall, branches with buds in February when I’m desperate for spring.
Anything deeper than 4 inches comes off the counter. It gets in the way of folding and you’ll resent it within a week.
Two Variations Worth Considering
Boho-modern: keep walls white, add a low-pile patterned runner, a wood shelf with rounded edges, rattan baskets, and a trailing pothos on the upper shelf. Black hardware to anchor it.
Coastal, the non-cheesy version: beadboard back wall painted in a muted sea-glass green, white cabinets, rope-handled bins, brushed nickel hardware. No anchors, no starfish, no driftwood signs. The color does the work.
The thing I’d tell anyone staring at a tiny laundry closet wondering where to start: pick the back wall, the counter, and the decanting. In that order. Everything else is decoration on top of a room that already functions.
Conclusion
The very small laundry room ideas that worked for my friend came from a closet-sized space with a stacked washer and dryer, a shelf above for detergent, and a rod across the back for hanging shirts. She had painted the walls a pale blue that made the room feel like the sky, and she kept a small radio on the shelf that played classical music. She said laundry was the only time she was alone in the house, and she had learned to look forward to it.